Razer Viper V3 Pro Settings Guide: Best DPI, Polling Rate & LOD for Valorant (2026)
Razer Viper V3 Pro Settings Guide: Best DPI, Polling Rate & LOD (2026)
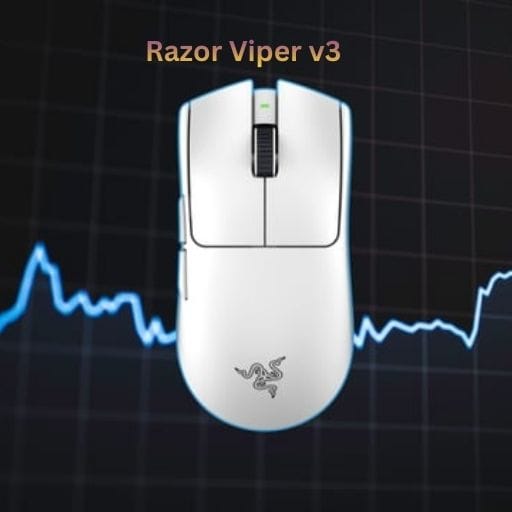
The Razer Viper V3 Pro has officially dethroned the Superlight to become the new king of esports. Weighing only 54g and featuring the flawless Focus Pro Gen-2 Optical Sensor, it is currently the most popular mouse among VCT professionals (including Demon1 and ZmjjKK).
However, out of the box, this mouse is not optimized for competitive play. High polling rates can cause massive FPS drops in Valorant if not configured correctly. This guide covers the ultimate Razer Viper V3 Pro Settings to maximize performance while maintaining battery life.
1. Best DPI Settings (1600 is the New Standard)
When configuring your Razer Viper V3 Pro Settings, DPI is the first thing to change. Unlike older sensors, the Focus Pro Gen-2 performs significantly better at higher DPIs due to lower input latency (sensor saturation).
| DPI Step | Latency (ms) | Recommendation |
|---|---|---|
| 400 DPI | ~4.5ms | ❌ Avoid (Outdated) |
| 800 DPI | ~3.2ms | ✅ Good (Industry Standard) |
| 1600 DPI | ~2.1ms | 🏆 Best (Pro Choice) |
| 3200 DPI | ~2.0ms | ⚠️ Diminishing Returns |
Pro Tip: If you switch from 800 to 1600 DPI, remember to halve your in-game sensitivity (e.g., 0.3 sens becomes 0.15) to keep your eDPI exactly the same.
2. Polling Rate: 4000Hz vs 8000Hz
The standout feature of the Viper V3 Pro is its native 8000Hz wireless polling rate. This sends mouse data to your PC every 0.125ms. However, simply maxing this out in your Razer Viper V3 Pro Settings isn’t always the best move.
Our Recommendation: Use 4000Hz
While 8000Hz is technically faster, it consumes massive CPU resources and drains the battery in ~12 hours. 4000Hz offers the perfect balance of indistinguishable latency and a comfortable 24-hour battery life.
How to Fix FPS Drops with High Polling Rate
If Valorant stutters when you move your mouse, it means your CPU cannot handle the polling updates. To fix this:
- Open Valorant Settings > Video > General.
- Turn Raw Input Buffer to ON.
- This setting allows the game engine to process the 4000Hz/8000Hz data stream directly, eliminating lag.
3. LOD & Motion Sync (Hidden Synapse Settings)
For the most precise aim, you need to dive deeper into the Calibration tab of Razer Synapse. These Razer Viper V3 Pro Settings control how the sensor handles lifting and tracking.
- Smart Tracking (LOD): Set this to Low / Medium. You want the sensor to stop tracking the millisecond you lift the mouse to reset your position. High LOD causes your crosshair to jitter or move unintentionally when you swipe.
- Motion Sync: Set to ON. This technology syncs the sensor’s signals with your PC’s polling intervals. On the Viper V3 Pro, the implementation is flawless and adds almost zero latency for smoother tracking.
4. Battery Optimization for Competitive Play
High performance comes at a cost. At 4000Hz, your battery will drain much faster than on standard mice. To ensure your mouse doesn’t die mid-round, apply these power-saving Razer Viper V3 Pro Settings:
- Sleep Mode: Set to 3 Minutes (Default is often too long).
- Low Power Mode: Set to 10%.
- Wireless Dongle LED: Turn this OFF. It serves no purpose and uses power.
The “Pro Config” Checklist
Before you launch Valorant, open Razer Synapse and double-check that you have matched these exact settings:
- ✅ DPI: 1600
- ✅ Polling Rate: 4000Hz
- ✅ Motion Sync: Enabled
- ✅ Lift-Off Distance: Low
For more details on the hardware itself, visit the Official Razer Viper V3 Pro Page.
Need the Right In-Game Sensitivity?
Now that your mouse hardware is perfectly tuned, you need to find the correct sensitivity multiplier.
👉 See Pro Valorant Settings